Never Lose a File Again: Automated Backup of Files from Windows Machine to S3 Bucket
Scenario:
You can set up an automated backup system that transfers your files to an S3 bucket on AWS to ensure that your files are always safe and accessible on your Windows machine. You can configure a variety of AWS tools and services, such as Amazon S3 Transfer Utility, AWS Backup, or AWS Storage Gateway, to automatically transfer your files to your S3 bucket on a regular basis. You can also configure alerts and notifications to monitor the status and health of your backup system and take corrective action if any problems arise.
Problem:
Manually backing up files is a time-consuming process, and there’s always the risk of making mistakes. So, to save time and reduce the risk of human error by automating backups.
Prerequisite:
- An AWS account
- An IAM user in your AWS account with access to the S3 bucket
- The AWS Command Line Interface (CLI) installed on your Windows machine

The Fix:
You can use the AWS CLI to automate the backup of files from a Windows machine to an S3 bucket. The following steps show you how to do this:
- Create tasks using Task Scheduler.
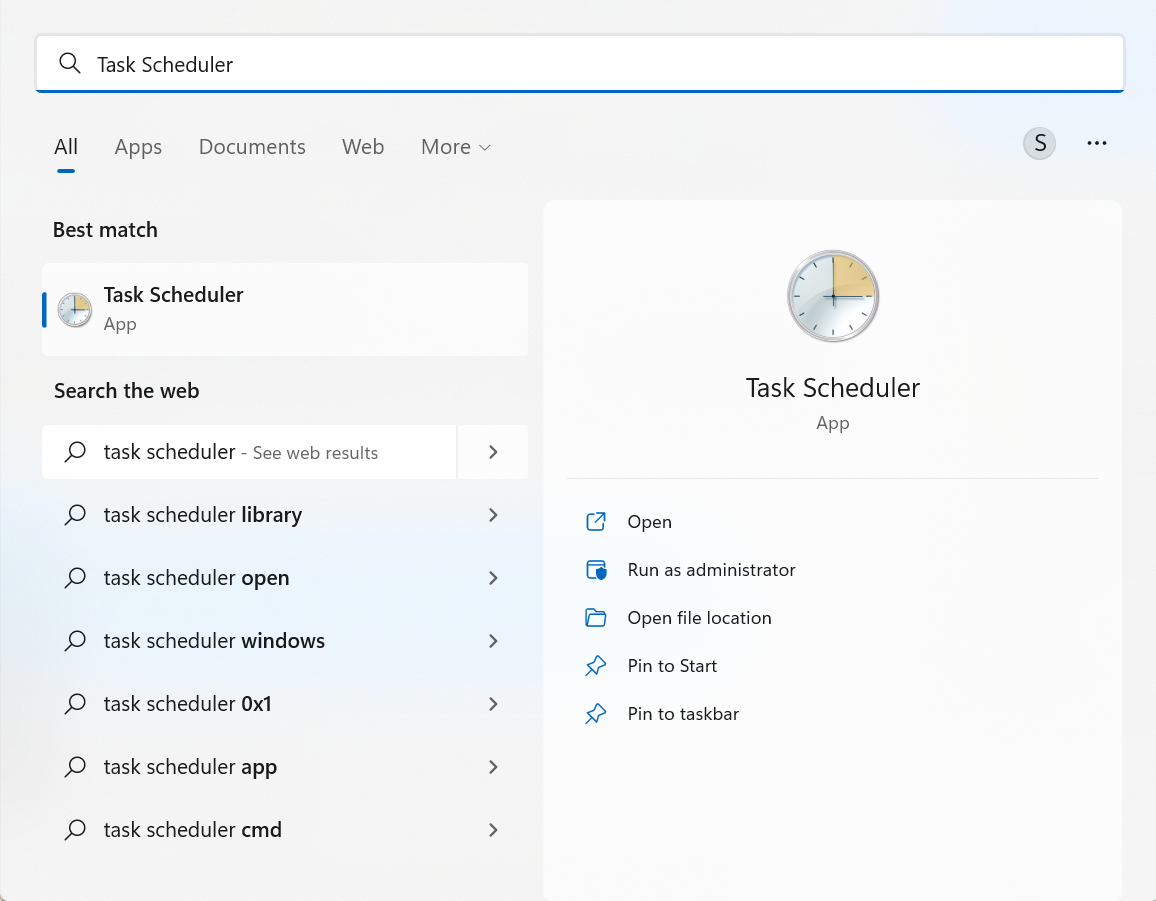
- Log in to the Windows machine and type “Task Scheduler” in the search box.
- Clicking on that will open a new window known as Task Scheduler. On the right-hand side, you will see a list of actions available, such as creating tasks, importing tasks, disabling task history, and displaying all running tasks.
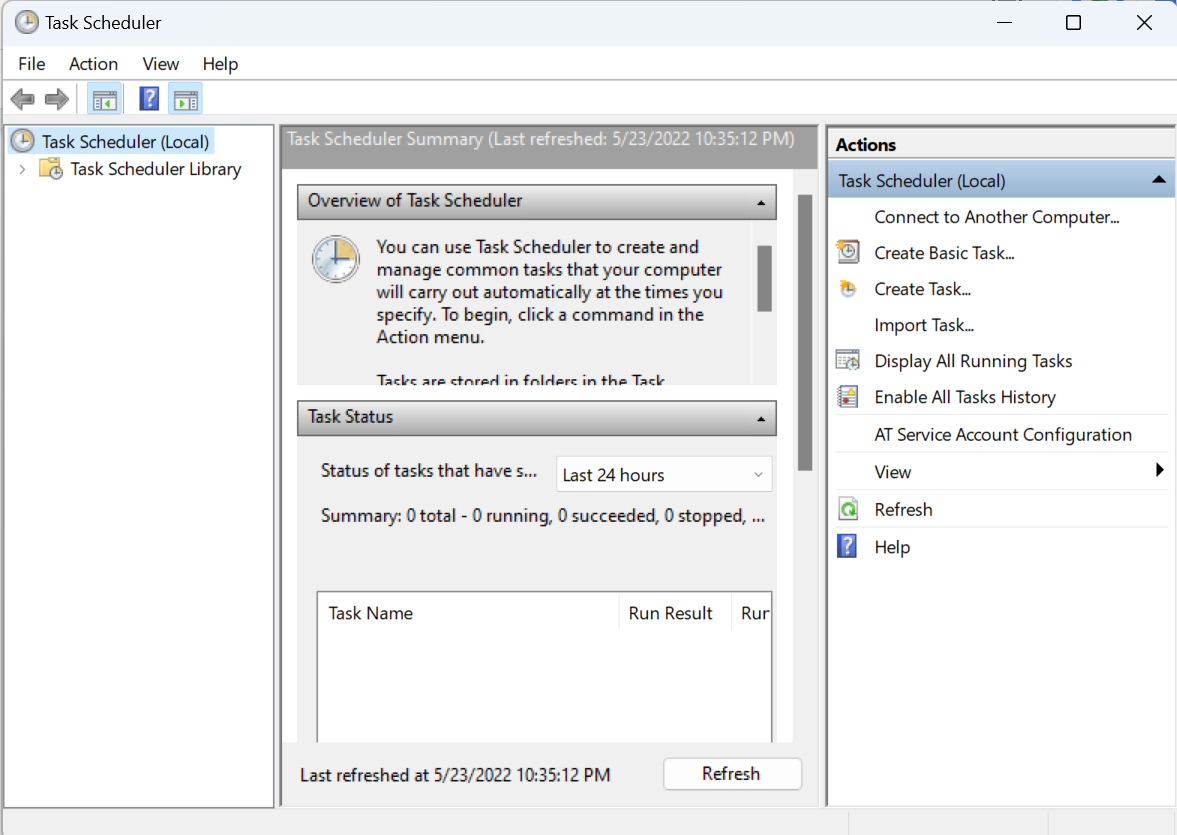
- To create a new task, choose Create Basic Task from the options on the right side.

- Click Next. Here, indicate how often you want the task to be triggered or executed. For example, daily.

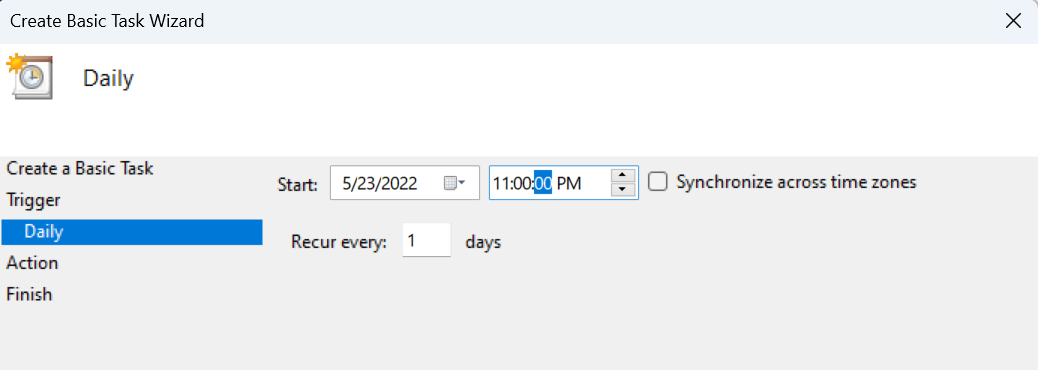
- Click Next. Depending on the trigger you have chosen, you will be asked to provide details such as the start time, recurrence interval, and more.
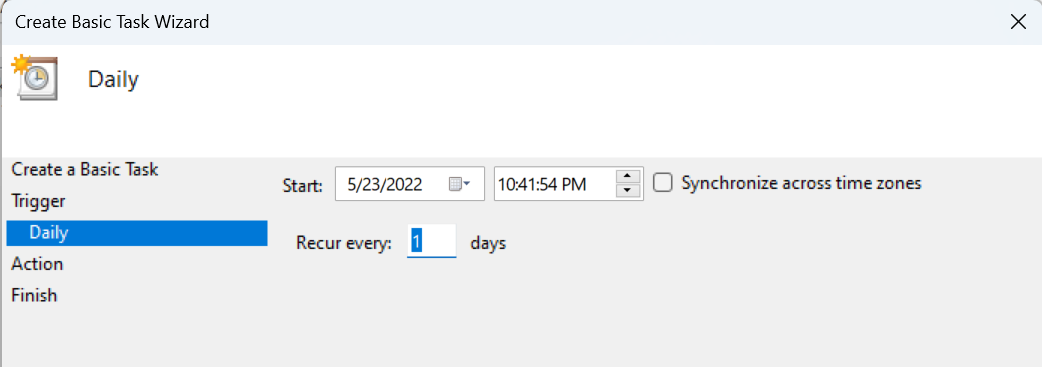
I have configured the task scheduler to execute the task every day at 11:00 PM.
- Click Next
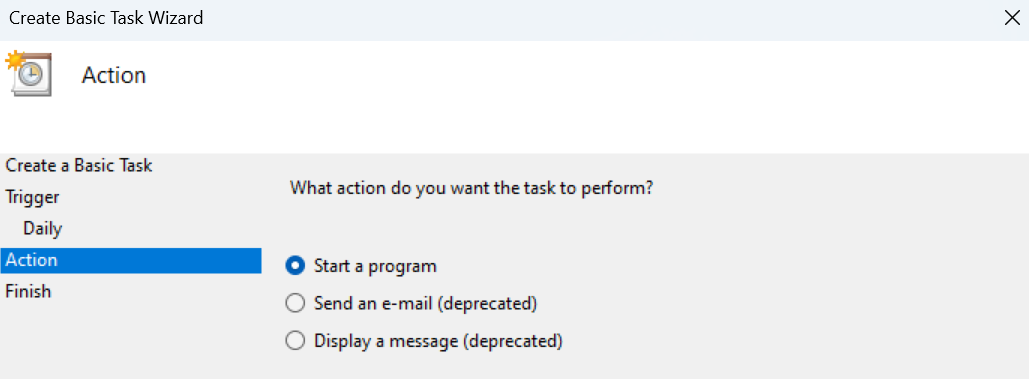
You should mention the action to be performed, Choose Start a program
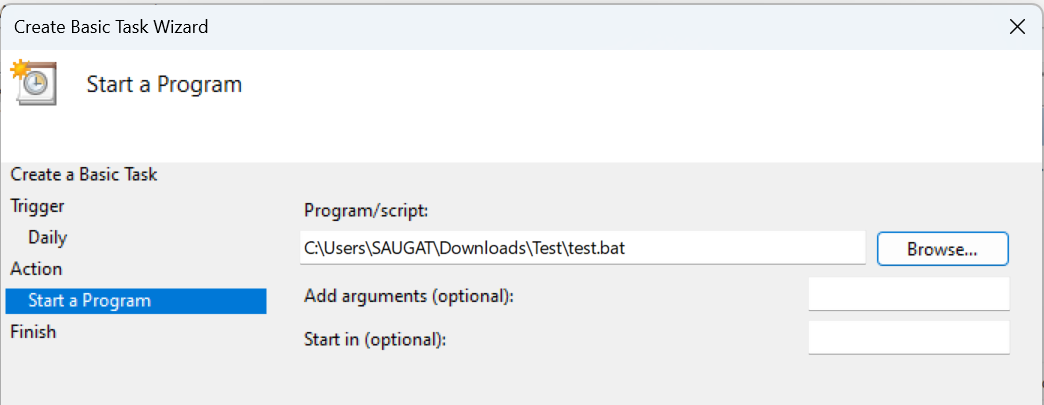
- Choose Next, And here you should provide a task in the form of a program/script to the task scheduler.
- Now, To create a script, Go to any folder in the Windows instance > Right Click > Click New > Text Document> Give a name for the file and the extension for the file should be .bat (which is known as batch file)
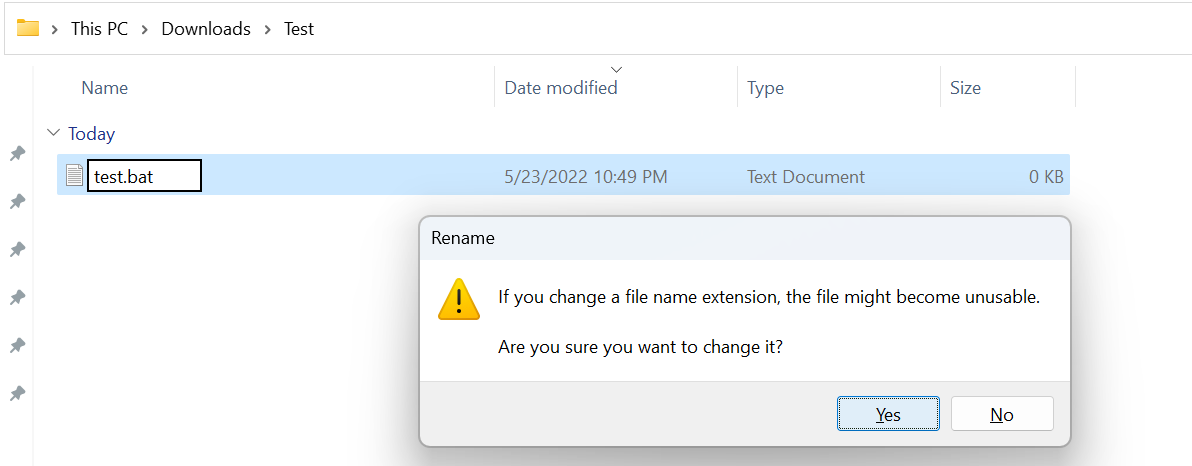
While changing the extension of the file, It will ask for confirmation, click Yes.
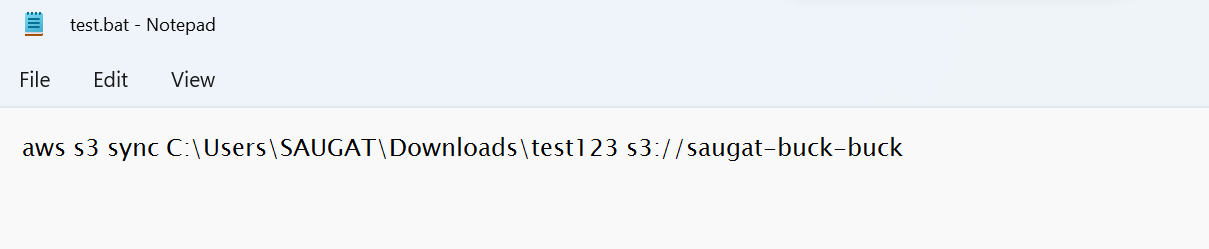
- To add commands to the .bat file, Select & Right-click the file, Choose Edit
It will open the file and You can add the commands here.
aws s3 sync <local_machine_folder> <s3_bucker_uri>
- After you have added the command, Save and close the file.
- Now, Go back to the Task Scheduler
- Click Browse, and Choose the .bat file you have created.
- Click Next, You will get the summary of the task configured. And, click Finish.
If you want to run and check the tasks, Choose Task Scheduler Library, Select the task you have created.
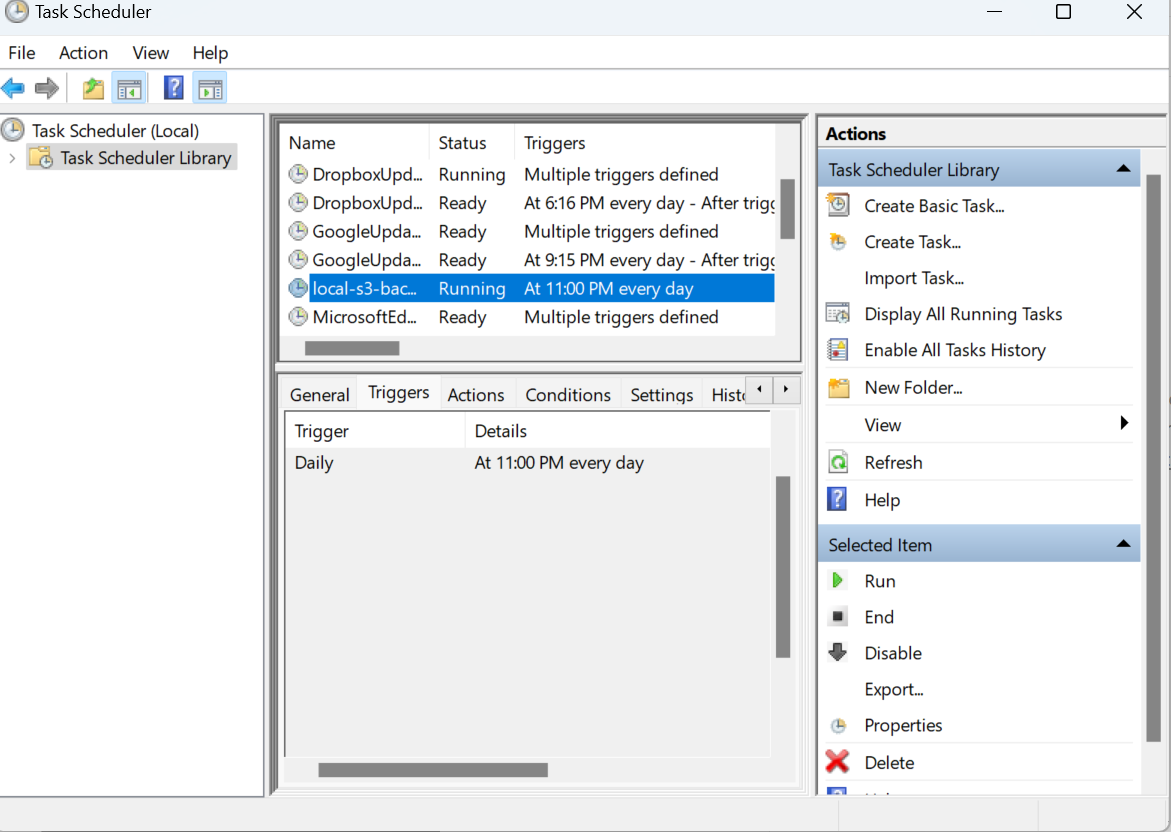
On the right side, You will get the Run option, It will start the task. This is the manual way of starting the task in the Task Scheduler.
- Click on Run.
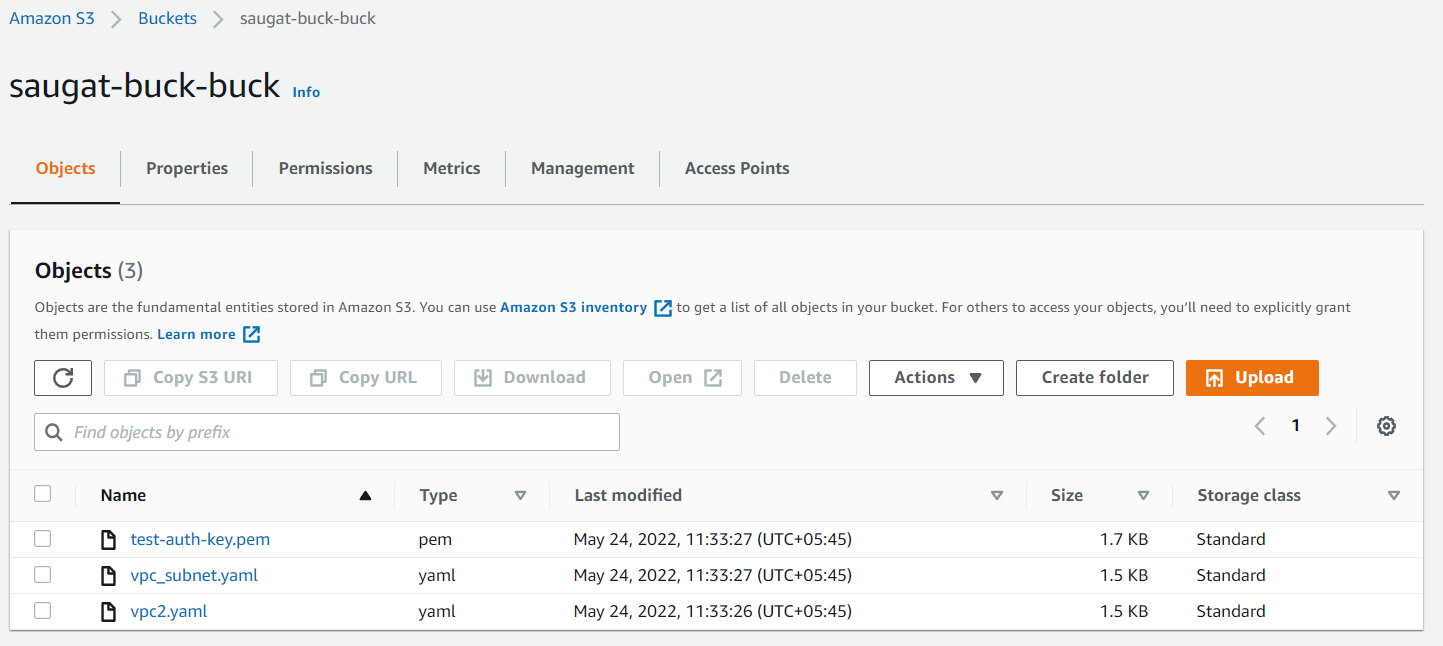
Then the file is automatically transferred from local machine to the S3 bucket you can see below in my bucket:
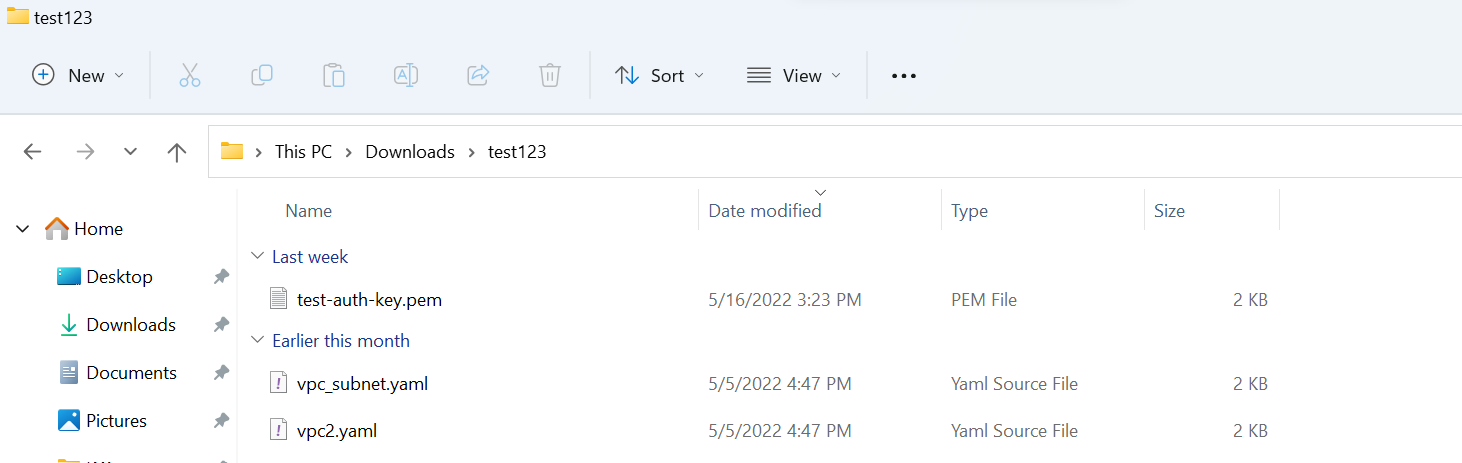
Before running, I have the following files in the local directory:
In this way, we can back up the file automatically from the Windows machine to s3.
Conclusions:
Backup files from a Windows machine to an S3 bucket automatically is a simple and effective way to protect your data. You can easily set up an automated backup solution that meets your needs by following the steps in this blog post.
Here are some other advantages to automating your backup process:
- Data is always backed up, even if you forget to do it manually.
- Save time and effort by automating the process.
- Reduce the risk of human error.
- Improve compliance with data protection regulations.
If you haven’t already automated your backup process, I strongly advise you to do so. It is a simple and effective method of data protection.